Kohlrabi, Carrot, Scallion Fritters

Kohlrabi, Carrot, Scallion Fritters

Recipe adapted from: https://www.acouplecooks.com/kohrabi-fritters-with-avocado/

It’s Kohlrabi season and I love this vegetable! While it is a new vegetable to many of us here in the states, it is a very popular vegetable in Eastern Europe and Australia. It is often cooked and prepared similar to potatoes – soups, mashed, simmered in cream, etc. Peeled, diced, seasoned and roasted like potatoes is probably my favorite preparation (until this creation)! I also greatly enjoy raw (peeled) kohlrabi – it makes a great salad addition, but honestly I also eat them like radishes, smeared with butter and topped with sea salt. 

A friend of mine recently texted me in a kitchen emergency situation. She was making veggie fritters and had run out of all purpose flour and wondered if rice flour would work in a vegetable fritter recipe she was making from a cookbook. And that’s where this idea started! We make summer squash and zucchini fritters in the summer all the time. Served alongside something from the grill – it’s an excellent way to use up a bumper crop. So I applied the same technique to some winter vegetables. Honestly – this recipe is super flexible. I used chickpea flour, because I had it and I love the flavor. It can be “thirsty” and an excellent, unique thickener. I also served this alongside a vegetarian spread and was looking to add as much protein as possible to my dinner plate. But you can use all purpose flour, wheat flour, rice flour — all will work great. Not a fan of kohlrabi? I encourage you to try it in this recipe, but if it’s a hard no, I bet butternut squash or sweet potatoes would be divine too!

This was a huge hit with my kids, too, though maybe they were just in it for the avocado yogurt sauce. Either way – they gobbled up their servings! 

Ingredients:

  • 2 small kohlrabi, peeled
  • 2 large carrots, peeled
  • 1 large scallion, sliced lengthwise and then sliced into thin ribbons
  • 1 garlic clove, grated into bowl
  • 2 eggs
  • 1/4 cup chickpea flour
  • 1/2 teaspoon garlic powder
  • 1/4 teaspoon sea salt, plus more for salting after frying
  • Freshly ground black pepper
  • Frying oil of choice. I used avocado oil – enough to spread a nice thin layer (more than coat the pan, but we’re not deep frying here) on the bottom of your frying pan (~ ½ cup, depending on size of your vessel)

For the avocado yogurt sauce 

  • 1 small avocado
  • 1/4 cup yogurt
  • 1/2-1 lime, juiced
  • 1 small garlic clove
  • Salt & pepper

For sauce – blend all ingredients – I wiped out my food processor after shredding and used that, but combining by hand would work out just fine too. 

Directions for fritters:

  1. Shred kohlrabi and carrots in a food processor or using the large holes in a box grater. 
  2. Place shredded vegetables in a clean tea towel. Wring out all the excess moisture. If you’re using purple carrots (as pictured here), you may want to consider what tea towel you’re using as the carrots stain!
  3. In a medium bowl, combine all the ingredients. Mix well. I found my hands to be the best tool for the job, to ensure there weren’t any pockets of flour or eggs that hadn’t penetrated the vegetables. You may also find that more liquid escapes the vegetables during this step. I just strained it out of the bowl over the sink. 
  4. Set your oven to warm or lowest heat. Set aside a baking pan, preferably with a rack on top. Preheat a large cast iron skillet over medium heat. Once it is hot, add the oil. You can test when the oil is ready by placing a small piece of batter into the pan to test it’s readiness to fry!
  5. When the oil is hot, use your hands to scoop about ⅓ cup of vegetables out and make a patty shape. 
  6. Gently place into pan and fry on each side about 2-3 minutes until nicely browned and crispy. Remove the done patties to the rack on the baking sheet, sprinkle lightly with salt, and set in the oven until everything is done. Your goal is to keep everything hot and crispy! Continue frying until all the batter has been used. 
  7. Top with avocado yogurt sauce and dig in right away – the hotter and crispier, the better! 

Roasted Beet and Garlic “Pesto” Pasta

Pesto is a stretch to apply here, but the technique is similar by replacing the basil with beets!

My family and I have been making and enjoying a version of this recipe for several years. I grew up not knowing or tasting beets because my dad strongly dislikes them. When I was an adult and tasted them for the first time, I thought I’d gone to heaven:  an earthy, sweet root vegetable  — yumm! Beets are for sure my spirit vegetable! I was always looking for new ways to cook them. When I had kids, well, let’s just say beets can be tough for some people. I came up with this approachable recipe and it is now lovingly called “Pink Pasta” at my house. Each year when we pull the beets out of the garden I can count on my kids to start chanting for, “Pink Pasta!” Hope y’all enjoy it too! 

Ingredients:

  • 2 small bunches of beets or 1 large bunch (aiming for 1.5 lbs of the roots)
  • 1 head of garlic
  • ¼ cup olive oil, plus more for cooking
  • ½ cup toasted almonds
  • ¼ cup ricotta, plus more for serving
  • Salt and pepper, crushed red pepper
  • Arugula or other micro/greens, for serving
  • 1 pound pasta, cooked

Directions: 

1 – Preheat the oven to 400. Roast beets and garlic. Trim the greens and roots off the beets. Place on top of a large piece of foil, drizzle with oil, wrap up with foil and place in the oven for about an hour. A knife should pierce through them without any resistance when they’re done. Remove and let cool. 

2 – With the garlic, trim the top of the garlic cloves off. Place whole head of garlic on a small piece of foil, drizzle with oil, salt and pepper and wrap up in foil and bake for about 20 minutes. Remove and let it cool. Note about picture: I was out of foil and just roasted in a small pan!
3 – Toast your almonds. Set aside to cool. 
4 – Once beets are cool enough to handle, you should be able to slip the skin right off by lightly rubbing and removing the peel. Chunk the beets up into smaller pieces with a knife and place in food processor. 
5 – Remove each garlic bulb from the skin. You can do this with a knife/fork by picking them out or give the whole thing a squeeze so that the roasted garlic pulp comes out straight into the food processor. 

6 – Add toasted almonds, ¼ cup olive oil, ¼ cup ricotta, and season with salt and pepper. Turn it on and process it into a creamy sauce for a few minutes, scraping down the sides to ensure consistency. 
7 – Place into a large bowl. When pasta is ready, place hot pasta on top of the beetpesto  and toss to combine! You may reserve some hot pasta cooking liquid and add this to the bowl to create an even more luxurious sauce. 
8 – To serve, place a scoop of pasta on your plate/bowl, top with another scoop or ricotta, arugula greens, and crushed red pepper, if that’s your thing. 


Spanakopita Quiche

Originally appeared in the Clemson Area Food Exchange newsletter, Edited by Ellie Sharp

The bounty of spring brings to mind eggs, greens, and dairy! I know everybody is making quiche and frittata these days, but I wanted to introduce something that’s a little different: spanakopita-inspired quiche! This rich and savory dish brings Greek flavors to your table any time of day, and takes full advantage of local ingredients. You will need to purchase a few items from the store, but it’s more than worth it!

If you’ve never worked with phyllo dough before, you can find it in the freezer section next to puff pastry and pie dough shells. Make sure to thaw it the night before so it’s ready to go when you are ready to cook. Phyllo dough can be finicky: it dries out quickly and the super-thin sheets make it a blessing and a curse — difficult to work with but a joy to eat. For this recipe, it doesn’t need to be perfect, and tearing will add to the rustic plating, but do make sure you take the time to prep your ingredients and work space so that you can twork quickly once you unwrap the dough.

A note about equipment. I used a 10-inch springform pan so that I could remove the “collar” or side of the pan for a pretty presentation. This is totally not necessary and this recipe will work in a regular 9 inch pie pan! However, if you do use a 10-inch springform pan, I do recommend adding 2 more eggs (for a total of 6 eggs) as it’s a bit bigger and fills out nicer. I made the recipe both ways with equal success. 

Ingredients

  • ½ package of phyllo dough
  • 4 TB. butter, melted
  • 1 TB butter or cooking oil of choice
  • 1 package of large scallions/spring onions, diced
  • 2-4 garlic cloves, minced
  • 1 lb greens – I used a combination of swiss chard and spinach to mix it up
  • 4 eggs
  • 1 cup milk
  • S & P
  • Zest of 1 lemon
  • ¼ cup freshly chopped herbs – dill, parsley, oregano, chives are all good choices
  • 4 oz. feta, crumbled

Directions:

  1. Defrost phyllo dough in the fridge the night before. Take it out of the fridge and allow it to come to room temperature while you start prepping the quiche filling.
  2. Preheat the oven to 400. 
  3. In a large skillet over medium heat, melt butter/heat oil and add onions. Saute until translucent, about 5 minutes. Add minced garlic and cook for 1 minute until fragrant. Season with salt and pepper. 
  4. Start adding greens in batches, stirring to wilt and incorporate. Continue adding until all greens are cooked down, reserving one small handful of spinach leaves for the top. 
  5. While this happens, you can whisk eggs in a bowl with the milk. Season with salt and pepper. Set aside. 
  6. When all greens have wilted down, season the skillet with salt, pepper, lemon zest, and fresh herbs. Turn the heat off, taste and adjust seasonings. 
  7. Set up your phyllo dough station. Unwrap phyllo dough and set next to melted butter with a brush. Using your preferred quiche pan, brush the insides with melted butter. Start by removing one phyllo sheet and covering the bottom of the pan. Brush lightly with butter. Place another sheet down in the other direction to cover the bottom thoroughly and brush with butter. Now, work on draping the sheets of dough over the pan. Brush each lightly with butter, and continue draping the sheets of dough to cover the sides and bottom of the pan while creating a large overhang on the outside of the pan. If you need to walk away or notice your phyllo dough drying out very quickly, you can cover it with a very lightly damp dish towel that will help! I used roughly 15-20 sheets of phyllo dough. I still had some leftover that I wrapped up for another use. 
  8. Next, spread the greens over the dough, spreading out in an equal layer. Top with whisked eggs/milk. Finally, top with crumbled feta cheese.
  9. Fold the hanging dough on top of the quiche. You may have to crinkle it a bit to make sure you can visually see the greens in the center. Drizzle remaining butter all over the top of the phyllo.
  10. Bake the quiche at 400 for about 35 minutes until the dough is browned and crunchy and the eggs are set (if it jiggles in the center, the eggs may need another minute or two)! 

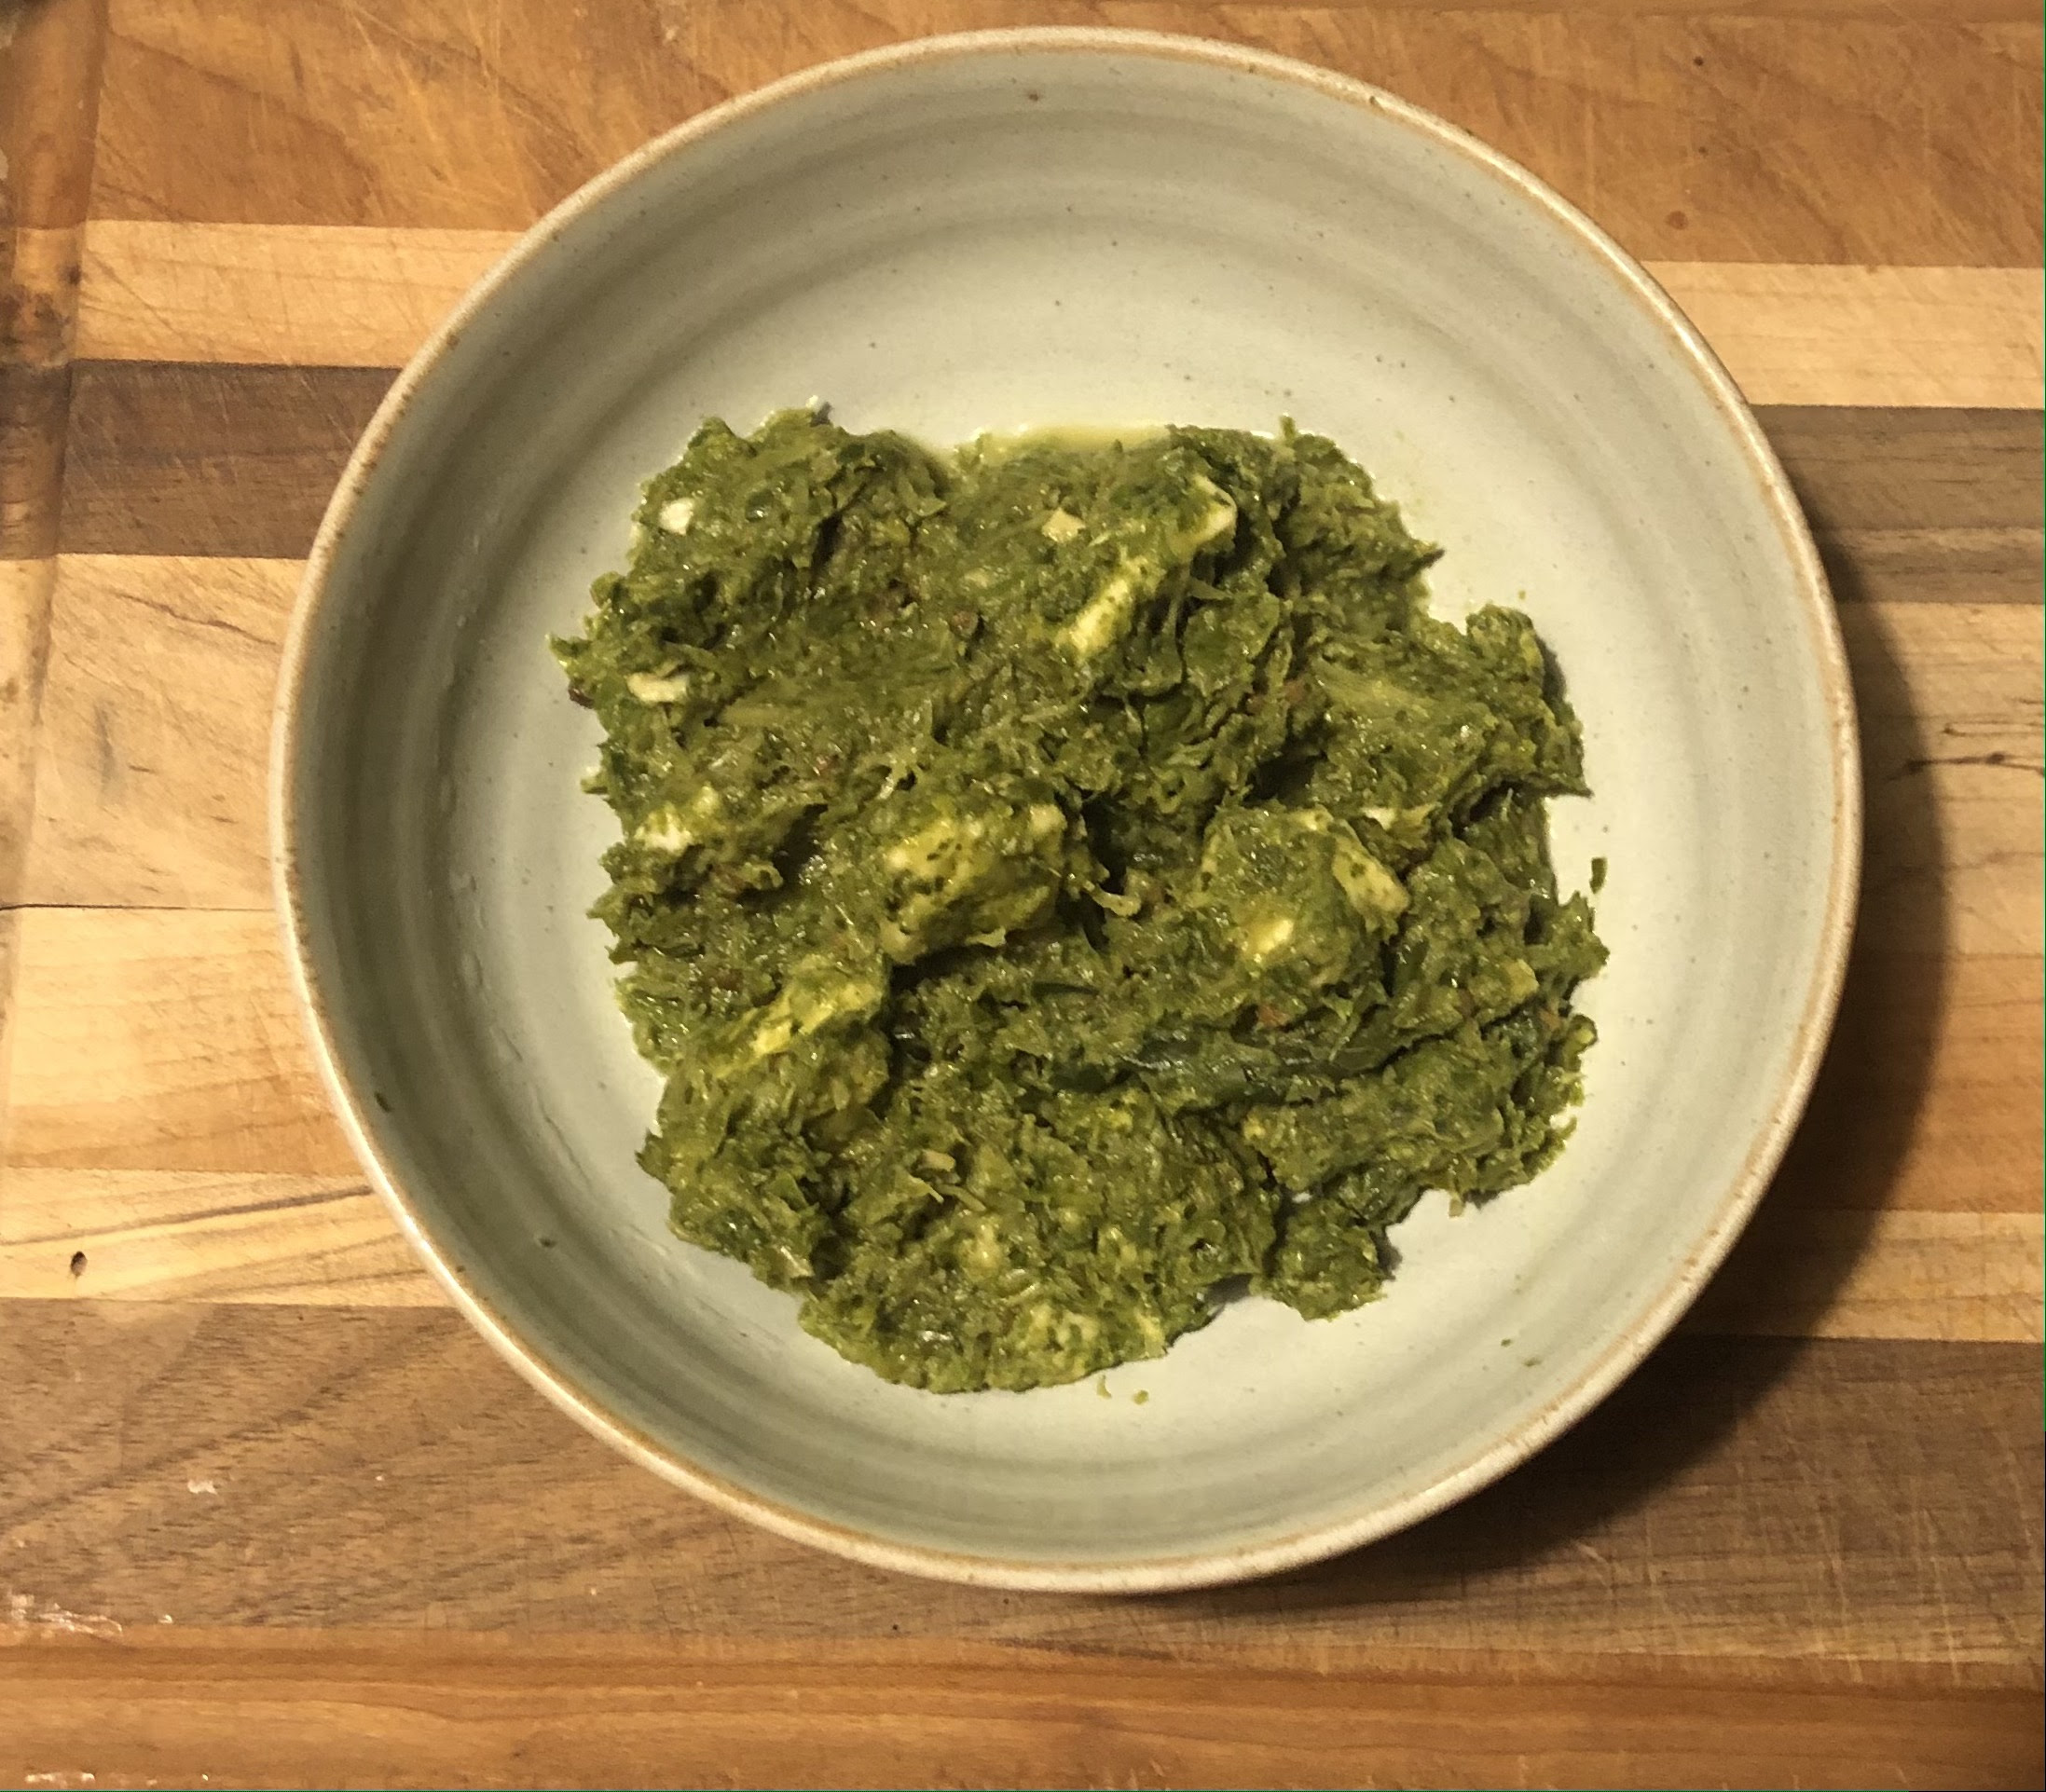
Saag Paneer-Inspired Greens and Feta

Saag Paneer-Inspired Greens and Feta 

This first appeared in the CAFE newsletter, published in May 2021
Words and photos by Amanda Callahan of Callywood Farms, edited by Ellie Sharp

Back when I was in graduate school at the University of Denver, my apartment was just around the corner from this little Indian place. As a born and bred Southern girl, I had never experienced Indian food but after one dinner there I was hooked. I spent a lot of money at that little Indian place, and I vowed to learn how to make my favorites at home. Armed with the Internet and books, I started ordering spices online and referring back to my remembered tastes of the restaurant to re-create dishes.

Once we moved to South Carolina, I had to adapt recipes to our garden and native species: I make a mean masala with crowder peas in place of the usual chickpeas, and my family enjoys many delicious vegetables in curry sauces with okra and beets being some of our favorites. But when “Sweet Tea” at Saint Basil Farm (now Growing Green Farms) asked if I’d ever made “saag” from wild spinach or lamb’s quarter I answered, “You know, I haven’t!”, and I knew that was a challenge I needed to meet as saag paneer is a personal favorite. Saag paneer is a classic Indian dish. It starts with puree of greens in a spiced sauce to which fried cubes of fresh paneer cheese, which is a mild farmer’s cheese, are added at the end of cooking. The greens and the creamy cheese are reminiscent of creamed spinach in American cuisine, but complex and vibrant with the Indian spice profile.

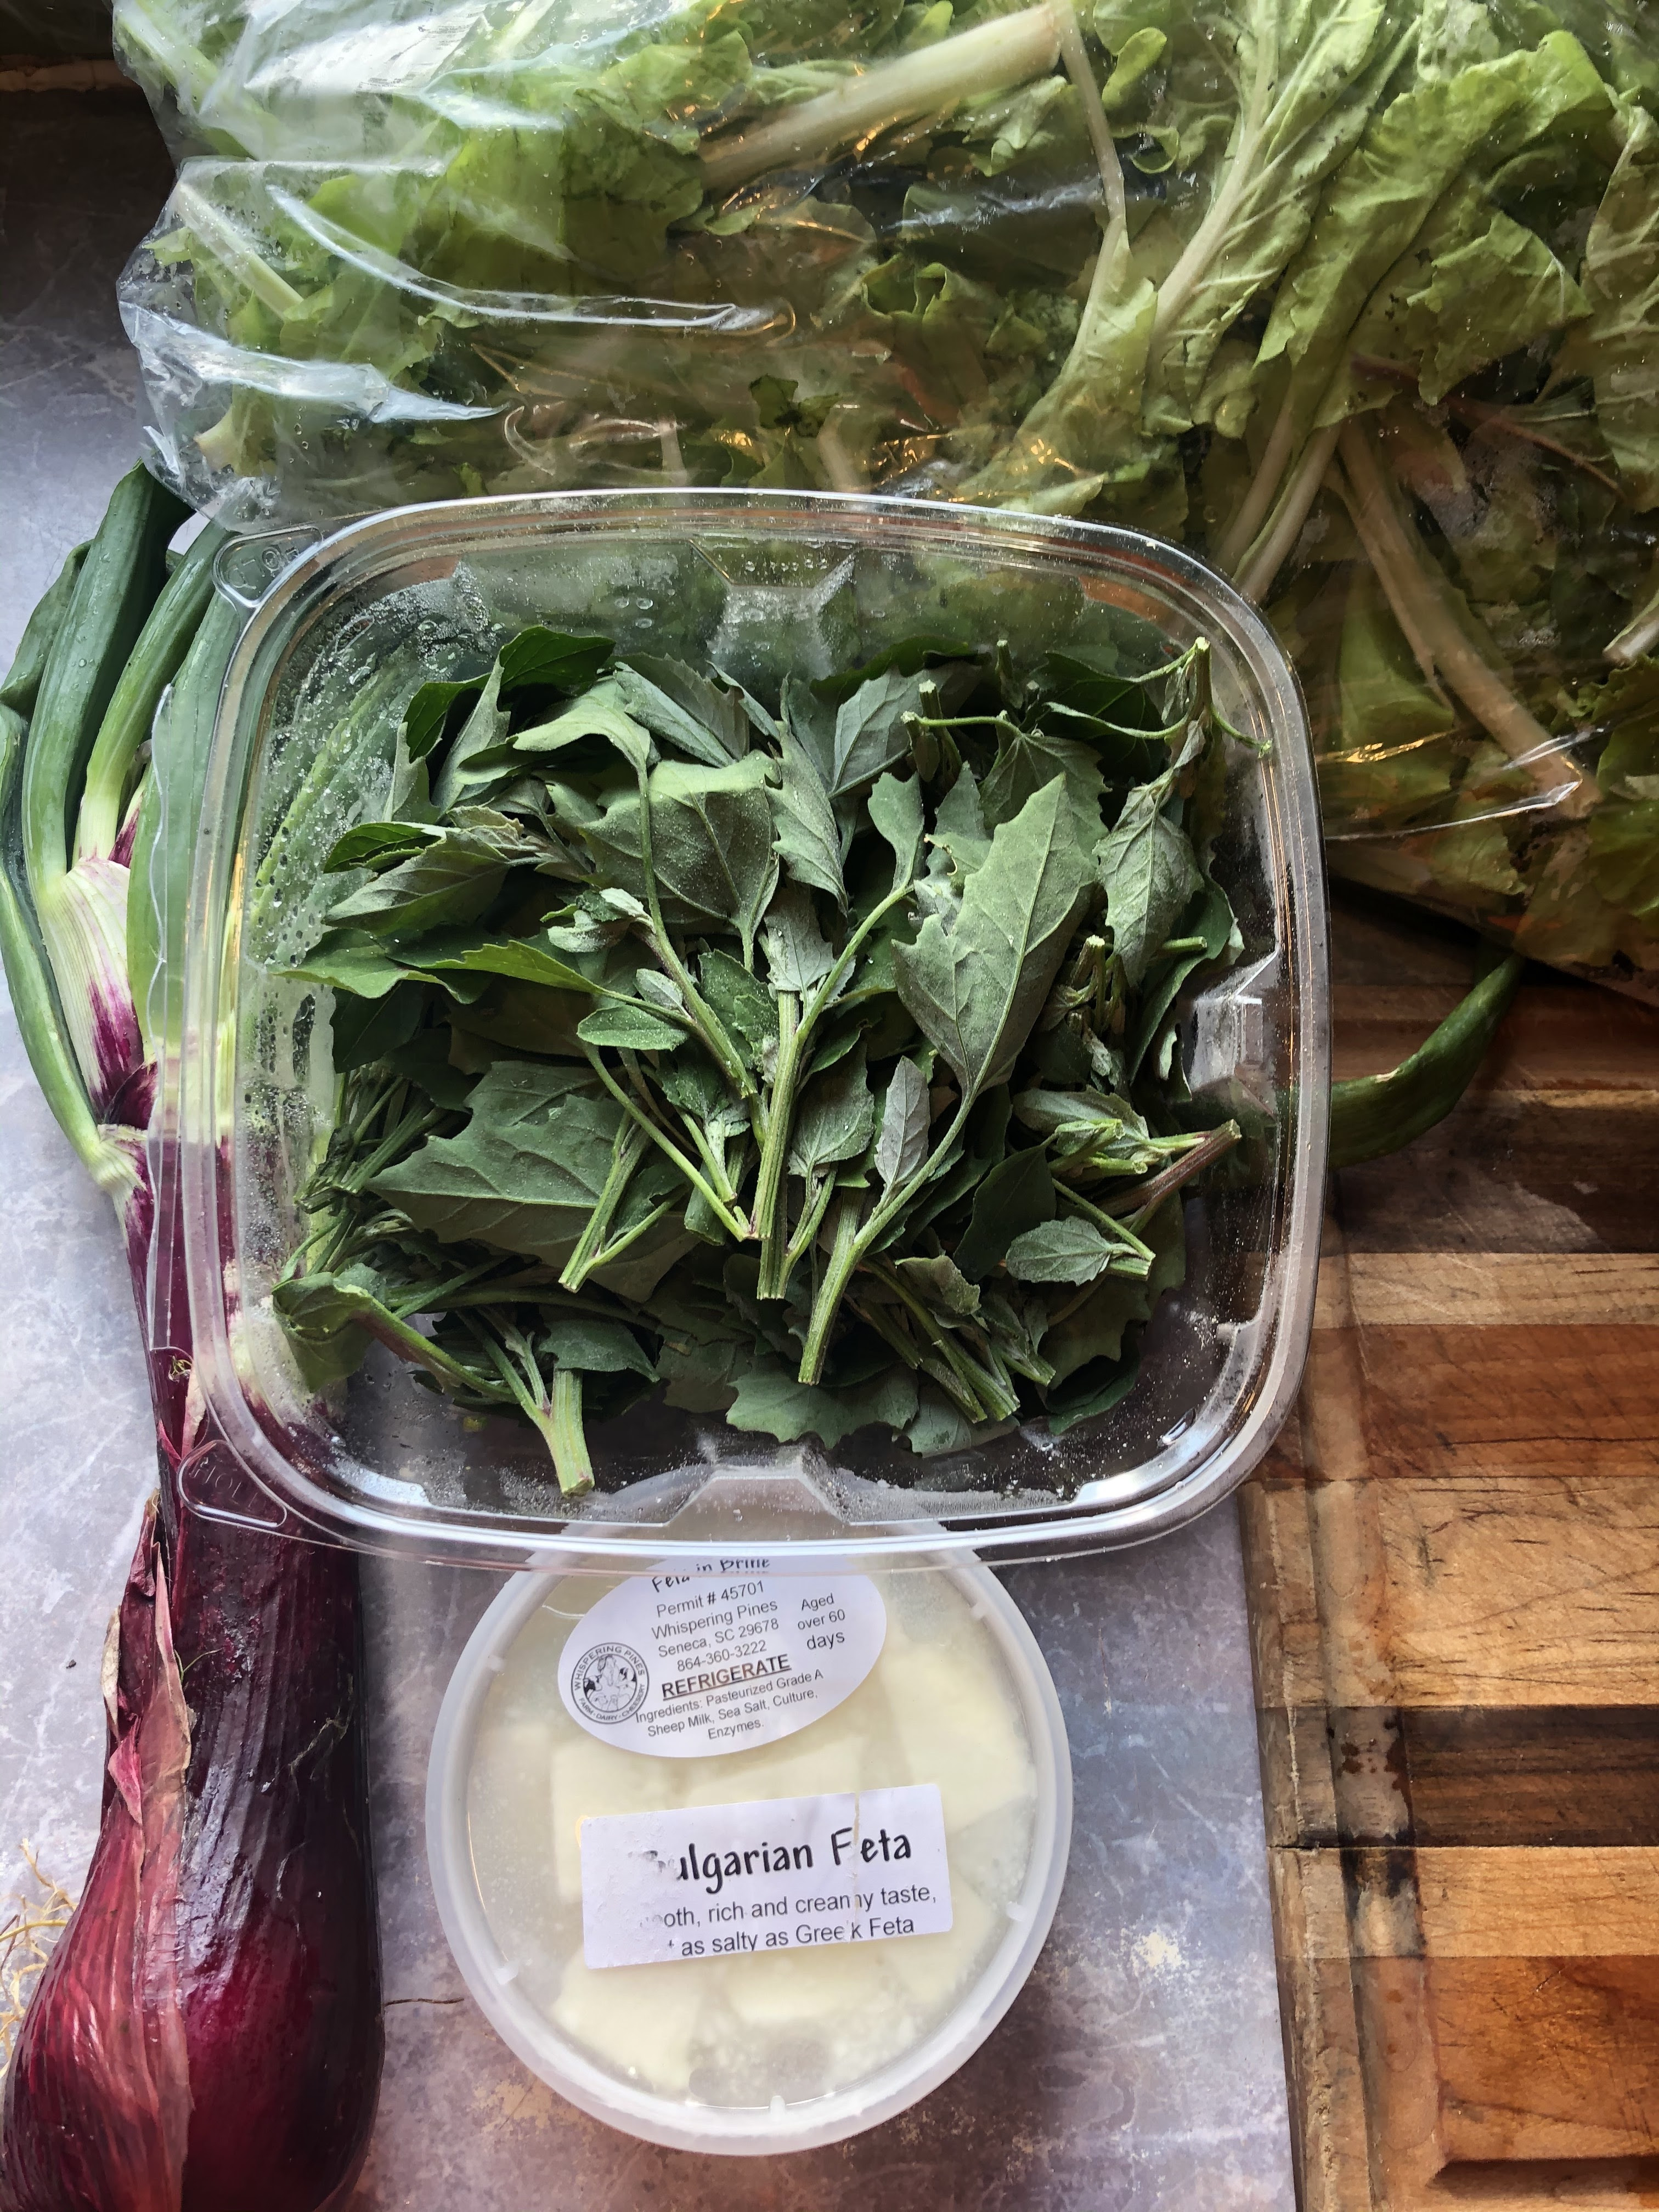
One of the more recent, approachable Indian cookbooks is “Indian-ish” by Priya Krishna and it is a fabulous cookbook if you’re looking for easy, adaptable Indian-ish recipes. Paneer is very hard to come by in the rural US. I often make it from scratch or buy it in bulk from one of my favorite restaurants up in Greenville, SWAD. However, Priya suggests using feta cheese thus making this dish easy to recreate with a local ingredient list!

And so I set out to adapt Priya’s already adapted version of the dish to include local greens. Priya uses only spinach in her recipe, but traditionally saag is often cooked with bitter greens, usually mustard greens with spinach and I have even seen some old-school Indian recipes that use kale, radish and turnip greens. I suspect saag would do excellent with a handful of dandelion greens from your yard too.It also makes a truly excellent dish with the lamb’s quarter offered on CAFÉ. 

I invite you to step outside the box with this local take on a classic Indian dish! 

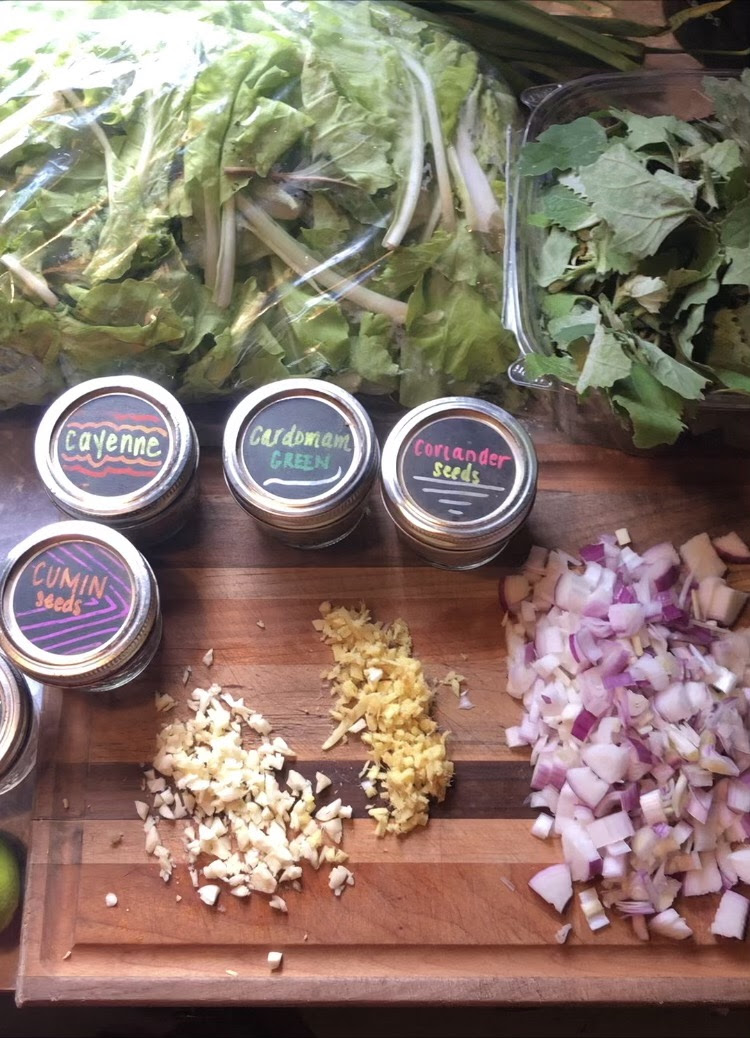
  • ¼ cup plus 2 tablespoons of ghee (clarified butter) or oil of choice (such as vegetable, avocado, coconut, etc), divided 
  • 2 tablespoons coriander seeds
  • 2 green cardamom pods or ¼ teaspoon ground cardamom 
  • 1 onion, chopped
  • 1 tablespoon fresh ginger, chopped
  • 3 garlic cloves, chopped
  • 1 lb braising greens mix (kale, turnip greens, Brussel sprout greens, etc.)
  • 2 packages lamb’s quarter, spinach or radish greens
  • 1/2 lime, juiced
  • 1 small hot pepper, chopped, or ground cayenne to taste
  • 1 teaspoon salt
  • 1/2 cup of feta cheese, drained from brine to dry out a bit, chopped into small cubes
  • 1 teaspoon cumin seeds
  • 1/4 teaspoon asafetida (optional, but is a great Indian pantry spice if you plan to cook Indian food!)
  • 1/2 teaspoon chili powder

Directions:

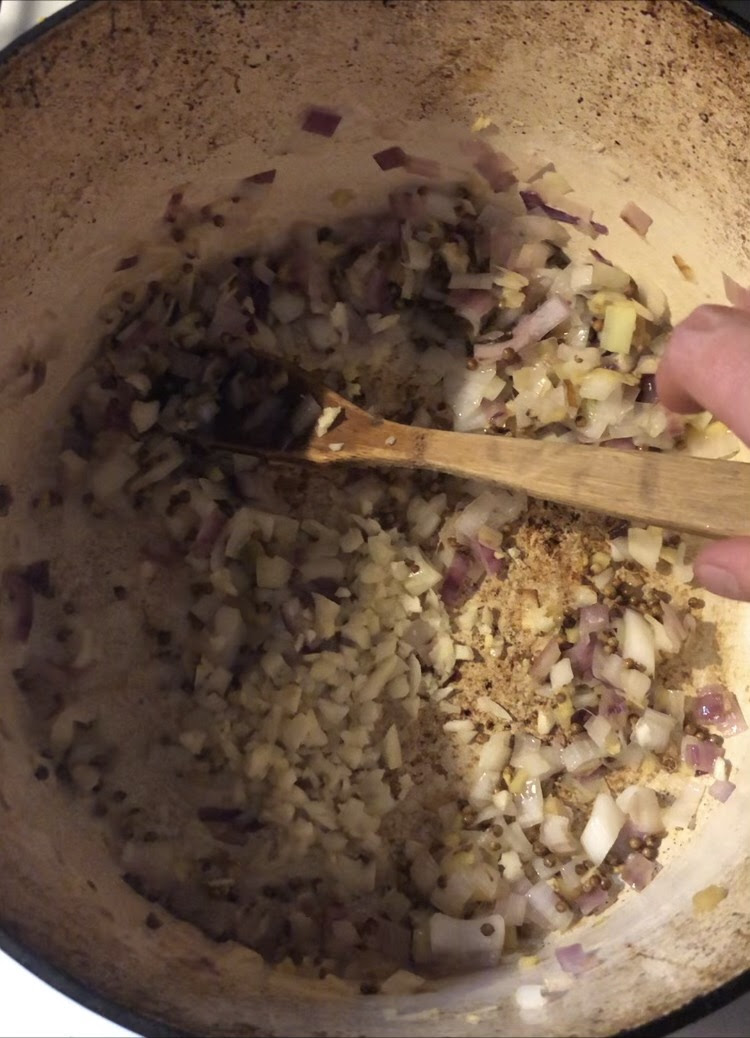
  1. Over medium heat, warm the ghee (or oil) in a large pan. Once warm, add the coriander and cardamom and cook, stirring, for about 2 minutes or until the seeds start to brown. Add the onion and cook until it is translucent, 5 to 6 minutes. Stir in the ginger and garlic and cook for 1 minute more. 

2. Add the greens in batches, wilting down and adding more as you make room. Once all is added, cook for 4 to 5 minutes.

3. Remove the pan from the heat and add the lime juice, green chile, and salt. Let cool for 5 minutes. Transfer to a blender and blend into a chunky paste. Return the spinach mixture to the same pan and set it over low heat. (If you have an immersion blender, blend in the pan.) Stir in 1/2 cup water, then gently fold in the feta, being careful not to break up the cubes. Cook for 5 to 7 minutes more to soften the feta slightly and allow it to soak up some of the spinach sauce.

4. While the feta cooks work on the ghee-spice mixture. In a small pan over medium-high heat, warm the remaining 2 tablespoons of ghee (or oil) for 1 minute. Add the cumin seeds. As soon as the cumin seeds start to sputter and brown, about 1 minute max, remove the pan from the heat (cumin seeds will burn quickly, so keep your eye on it!). Immediately add the asafetida (if using) and chili powder.

5. Pour all of the ghee (or oil) mixture into the spinach and feta once that is done cooking and mix.   

Roasted Winter Vegetable Soup

Roasted Winter Vegetable Soup with Guanciale and Celery Salad Topping

First featured on Clemson Area Food Exchange newsletter
Recipe and photos by Amanda Callahan of Callywood Farms, Edited and words by Ellie Sharp

Ready for another super easy, super versatile and super delicious recipe? Keep on reading! I love roasted turnips: the cooking process brings out the sweetness of this misunderstood root veggie and makes them approachable for those who shy away. That said, turnips do tend to have a “love ‘em or hate ‘em” reputation, so I wanted to make something that would be appealing to fans and could-be fans alike. Soup seemed a natural place to start with its cozy vibe well-suited for our current cold temperatures.

But, how could I make unconvinced turnip eaters more interested? Enter the ever-popular garden darlings: potatoes and carrots. By pureeing and blending the turnips with these beloved add-ins, you get the best of both worlds: full, rich flavor without the pronounced turnip twang. Win!

If you’re still unsure, let me give you a little firm-but-polite nudge. Put your support-the-farmers-money-where-your-mouth-is, step outside your comfort zone and bring a variety of vegetables and meat cuts into your home. Buy the turnips, grab and cure the pork jowl and let’s get these overlooked items onto your plate! 

Pro tip: Save all your resulting veggie peelings to make stock. Keep a freezer bag in your freezer and add onion, carrot and celery peelings/ends until it’s full. Mushroom stems, some potato peelings and herbs stems are other great additions, but steer clear of brassica items (cabbage, kale, broccoli, etc.). Once the bag is full, add to a large pot or stock pot with leftover bones, cover with water, bring to a boil and simmer on low for three to four hours (or longer if you wish). Add water as needed to keep ingredients covered while they cook. Strain and enjoy!

INGREDIENTS
2 turnips, peeled and coarsely chopped
2 potatoes, peeled and coarsely chopped
2 pounds carrots, peeled and coarsely chopped
1 large onion or several small, coarsely chopped
2 stalks celery, leaves removed and saved, cut into large chunks
2 heads of garlic
1 handful of roasting blend of fresh herbs, chopped (or more to taste)
Extra virgin olive oil
Salt and pepper
4 slices guanciale or thick-cut bacon, sliced into lardons (small strips or cubes)
6 cups stock
½ lemon, juiced

DIRECTIONS

  1. Preheat the oven to 425.
  2. On a large rimmed sheet pan, layer all the vegetables in a single layer, using two pans if you must (you won’t get the charred edges with an overcrowded pan). Drizzle with oil, season aggressively with salt, pepper, and herbs. Toss to coat. Roast in the oven for about 30 minutes until charred in spots, flipping and rotating pan halfway through cooking time.
  3. While the vegetables cook, mince the celery leaves and place in a small bowl. Add lemon juice and cracked black pepper. Mix thoroughly, set aside.
  4. In a large soup pot set over medium heat, crisp the jowl or bacon pieces. Remove from heat, set aside. Remove all but 1-2 tablespoons of the fat from the pot. 
  5. When the vegetables are done, place in a high-power blender with 2 cups of stock and puree until smooth. Alternatively, put vegetables and stock into the soup pot and use an immersion blender to puree.
  6. Pour the puree into the soup pot and set to low heat. Add the rest of the stock and simmer over low heat for 5-10 minutes to allow the flavors to come together. Adjust seasoning to your liking.

To serve: ladle soup into bowls. Top each with crispy guanciale or bacon pieces and a scoop of the celery leaf salad. I also was thinking a chili oil would perk it up nicely as well. Enjoy!

Substitutions: The vegetables are pretty interchangeable here. Try rutabaga, squash — whatever you’ve got in the fridge that needs to be used. If you’re vegetarian/vegan, replace the pork with chickpeas roasted in a hot oven until crispy and browned.

Root Vegetable Pot Pie

A rich and hearty pot pie is perfect for the season’s cooler tempsMake the most of earthy veggies with this tender main course that suits the season all winter long. Yogurt adds moisture and texture to the flaky crust while the decadent filling guarantees second servings. Try with a simple side salad.

Recipe originally posted on CAFE newsletter, edited by Ellie Sharp

Ingredients:

  • 2 lbs each rutabaga, turnips, and sweet potatoes, cut into a ½ inch dice
  • 1 lb each carrots (sliced), Brussels sprouts (halved and tough outer leaves removed if necessary)
  • Extra virgin olive oil (~2TB)
  • Salt & pepper
  • 2 rosemary stalks, leaves minced

Leek Bechamel

  • Olive oil to sauté leeks
  • 1 bunch of leeks, halved, washed, and sliced
  • 2 garlic cloves, chopped
  • ¼ cup butter
  • ¼ cup flour
  • 2 cups milk
  • Salt and pepper

Yogurt Dough (adapted from Nourishing Traditions)

  • 1 cup yogurt (goat yogurt OR kefir would be an excellent local choice here!)
  • 1 cup butter
  • 3 ½ cups flour (whole wheat is an excellent choice here as the yogurt tenderizes and softens the whole wheat and produces a stellar flavor and texture. A spelt flour version is pictured below.)
  • 1 tspn salt
  • Egg wash/melted butter for cooking

Directions:

Make yogurt dough:

  1. Cream together butter and yogurt in stand mixer with paddle attachment.
  2. Add flour and salt. Mix until combined.
  3. Split into two. You only need half this the dough for the recipe. Freeze the other half for the next time you make pot pie, pasties, etc.
  4. You can use immediately or set aside to allow the yogurt to soak the whole grains to increase nutritional absorption!

Roast veggies:

  1. Preheat oven to 425.
  2. On a sheet pan with a Silpat mat/parchment/foil, combine rutabaga, sweet potatoes, and turnips. Add 1 TB of olive oil, season generously with salt and pepper and half the rosemary. Flip vegetable halfway through. Roast for 25-30 minutes until fork tender.
  3. On another sheet pan add carrots and Brussels sprouts. Add oil, salt and pepper, rosemary.  Roast for 15-20 minutes.
  4. Set vegetables aside or add to your pie pan. You might have more vegetables than needed. They make an excellent topping to fresh greens, goat cheese, and balsamic vinaigrette the next day for lunch. 
  5. Reduce oven to 375.

Make bechamel:

  1. Sauté leeks in olive oil over medium heat for about 5-8 minutes until leeks are translucent. Season with salt, pepper, minced garlic.
  2. Add butter. When melted, sprinkle flour over and combine. Let flour cook for 2 minutes.
  3. With a whisk, add milk 1/2 cup at a time, whisking with each addition.
  4. Allow the bechamel to cook for another minute and make sure everything is combined. Turn off heat.

Assemble:

  1. Place vegetables in pie pan.
  2. Top with bechamel and stir to combine. Taste and add more seasoning if needed! Set aside.
  3. Roll dough (easier if slightly chilled) out on countertop, make sure you have enough to cover pie pan. 
  4. Cover the pie with dough. Press dough onto pie pan using fork, crimping edges or your fingers to press down. Create vents on top allowing steam to escape during cooking process.
  5. Brush with egg wash or melted butter to help brown.
  6. Cook at 375 for 30-40 until crust is browned and delicious looking!